Vehicle Wrap Installation: How It Works, Step by Step
· Updated

People ask us all the time what actually happens to their car once it's in the bay at Art Printing Vehicle Wraps in Sacramento. The honest answer, in our experience, is that a good wrap is about 70% preparation and maybe 30% laying film. The part you imagine — pulling vinyl over a fender — is the easy part. Everything before and after it is what separates a wrap that looks painted from one that's lifting at the corners by month three.
I've been wrapping vehicles for years, so here's the real process, in order, with the reasons each step matters. No marketing gloss — just what we do and why.
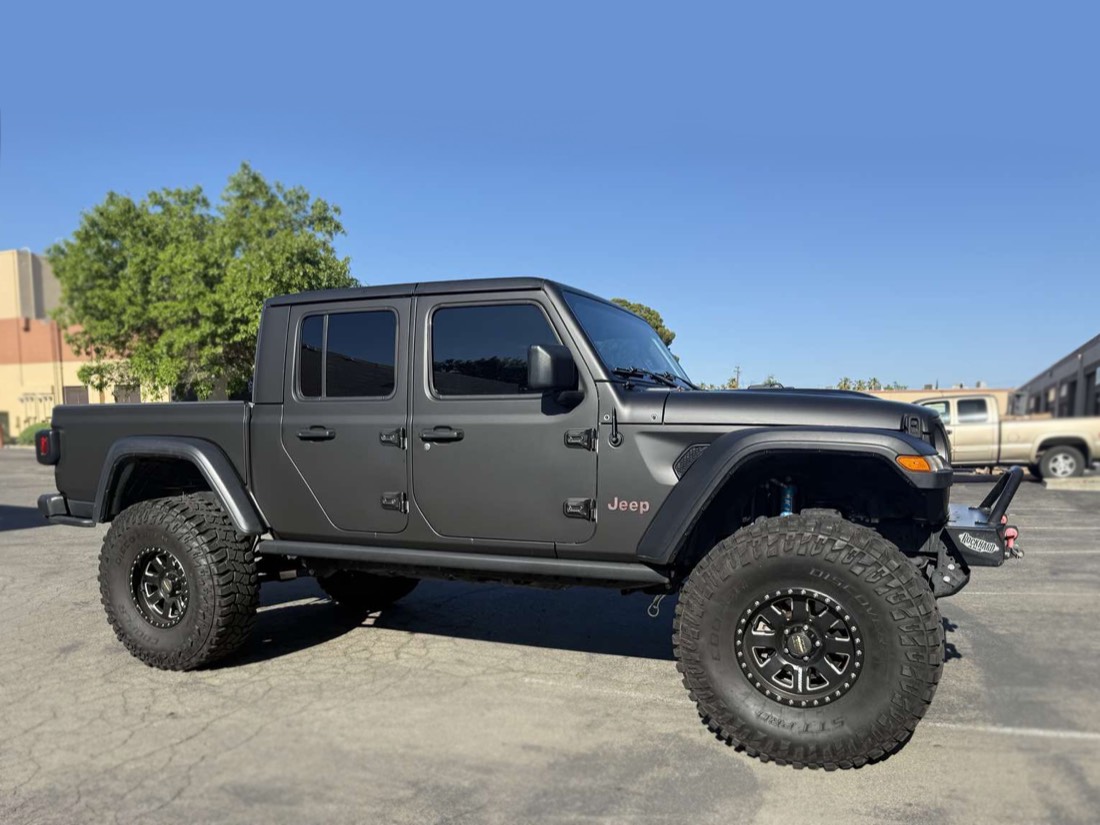
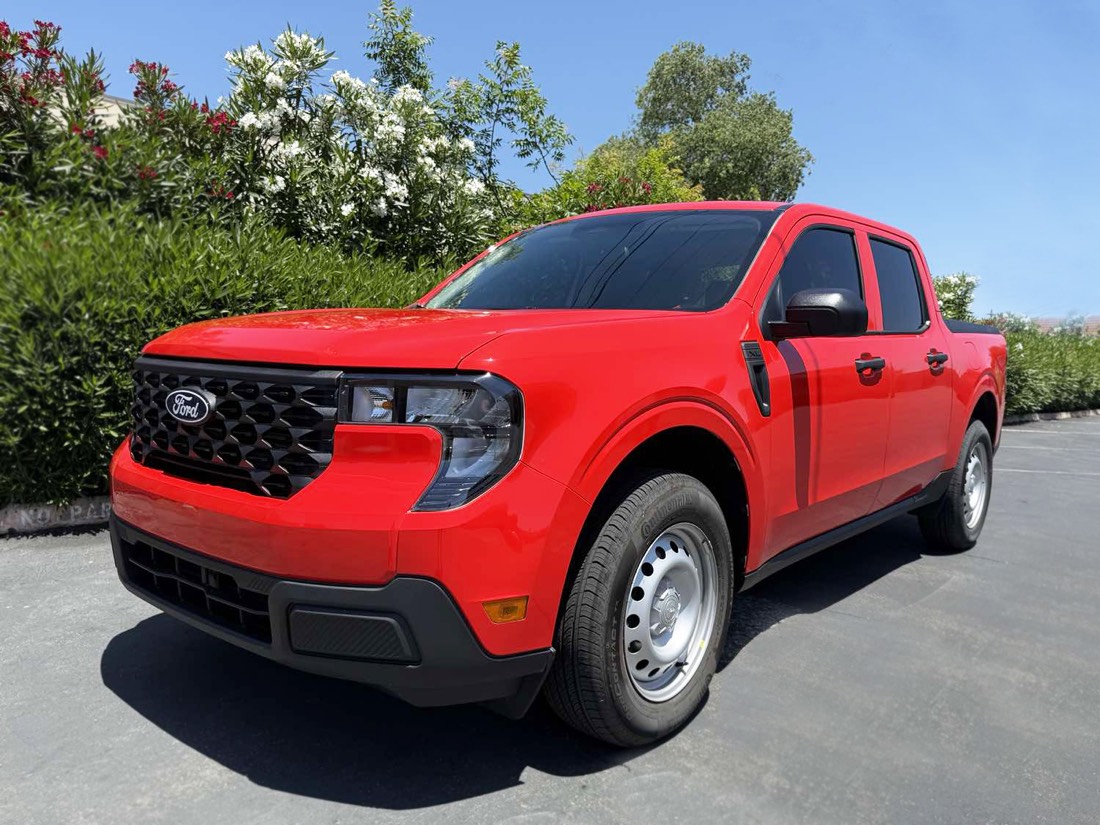
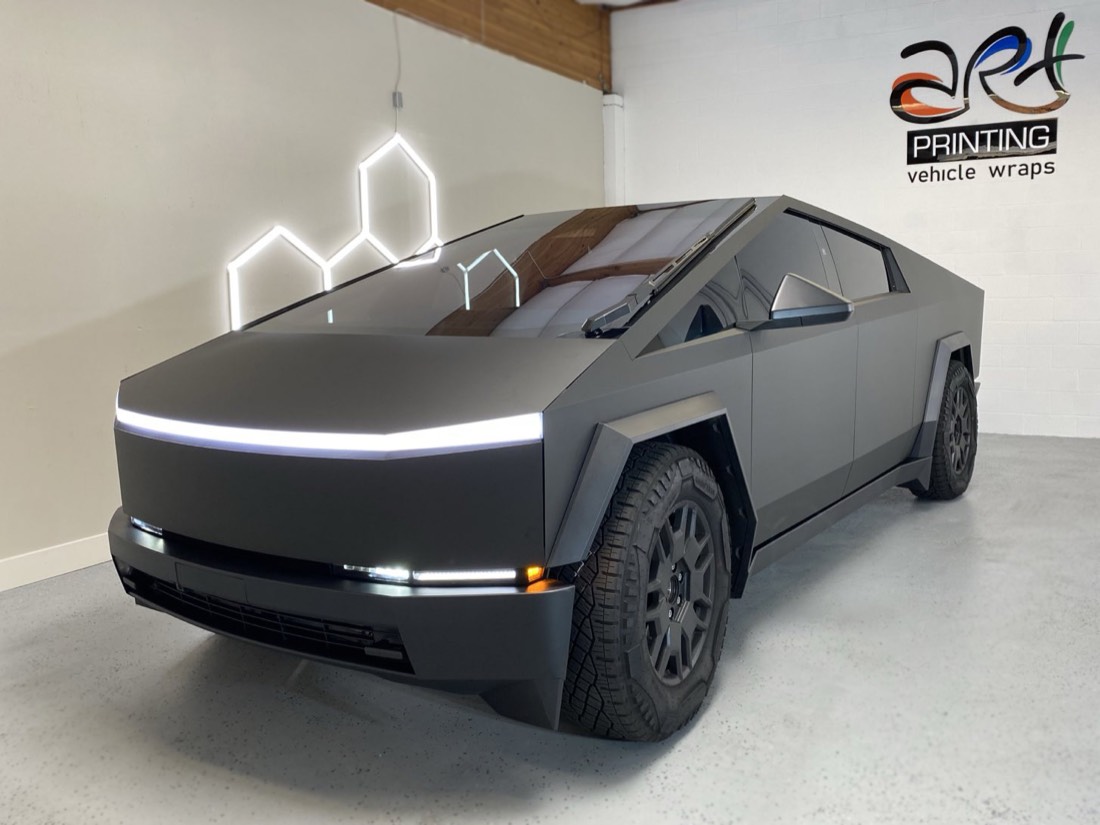
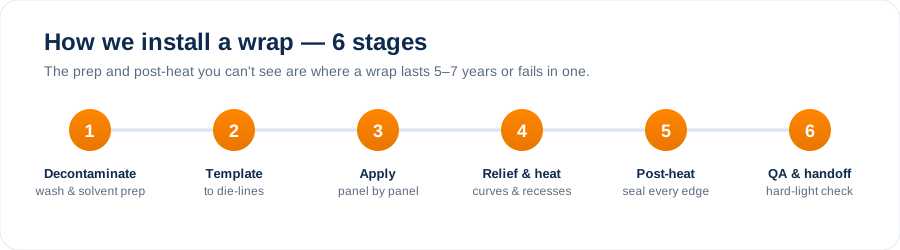
Professional vehicle wrap installation is roughly 70% preparation, 30% film. The vehicle is washed, clay-barred and solvent-wiped, hardware such as handles and badges comes off, each panel is wrapped individually, then every edge is post-heated so the vinyl keeps its shape instead of lifting.
A vehicle wrap takes 2–3 business days of print production followed by 1–3 days of installation, then 48–72 hours before the first wash while the adhesive cures. Roughly 70% of the install is preparation — inspection, decontamination and hardware removal — and 30% is laying film.
How long does it take to wrap a car?
Print production runs 2–3 business days once artwork is approved, and the vehicle is in the bay for 1–3 days after that, depending on body size and how much hardware comes off. A compact car sits at the short end; a Sprinter or box truck at the long end. After pickup, leave the wrap unwashed for 48–72 hours so the adhesive can cure.
| Step | What happens | Why it decides the result |
|---|---|---|
| 1. Inspection & decontamination | Wash, clay-bar, solvent wipe; paint checked for chips, rust, peeling clear coat | Film bonds to the surface it is given — contamination becomes a bubble |
| 2. Measuring & templating | Panel-by-panel measurement, seam planning, film selection | Decides how much film the job needs and where seams fall |
| 3. Hardware removal | Handles, badges, mirror caps, trim come off | Film tucks into edges instead of being trimmed flush — that is what stops lifting |
| 4. Application | Squeegee, heat, panel by panel | The visible 30% of the work |
| 5. Trimming, tucking, post-heat | Edges sealed, stretched areas post-heated | Post-heat sets the film's memory so it does not pull back |
| 6. Final inspection & handoff | Walk-around, hardware refitted, care instructions | 48–72 hour cure starts here |
1. Inspection and paint decontamination
Before any film comes off the roll, we walk the whole vehicle. We're looking for chips, rust, peeling clearcoat, dents, and old wax. This matters because vinyl is glue — it bonds to whatever it touches. If your paint is failing underneath, the wrap doesn't fix that; it can actually pull loose paint off when it's eventually removed. So we tell you straight what we find, and if there's a problem panel, you hear about it before we start, not after.
Then comes decontamination, and this is the step amateurs skip. We wash, then clay-bar the surface to lift embedded grit, then wipe everything down with isopropyl alcohol — door jambs, edges, around handles, the lip where the panel rolls under. Wax, road film, polish residue, and silicone are the enemies of adhesion. Even a fingerprint's worth of oil leaves a spot where the vinyl won't grip. A panel that looks clean and a panel that's actually wrap-ready are two different things. Get this wrong and the film lifts; get it right and it stays put for years.
2. Measuring, templating, and material choice
Now we figure out how much film the job needs and which film to use. We measure panel by panel and plan our seams — where two pieces of vinyl will overlap — so they fall in spots that hide, like body lines and the underside of edges, instead of the middle of a door where you'd see them.
Material choice is a real decision, not a detail:
- Cast vinyl is the premium stuff. It's poured as a liquid and cures thin, so it conforms into deep recesses and curves and stays there without shrinking back. It's what we use for full color-change wraps and anything with complex shapes. It lasts longer and resists fading.
- Calendered vinyl is squeezed into shape and has "memory" — it wants to shrink back toward flat. It's cheaper and fine for flat panels, simple graphics, or short-term commercial work, but on a curved car it will tunnel and lift over time.
When somebody quotes you a suspiciously low number, the film grade is usually where they cut. On a daily-driven vehicle that lives in the sun, cast film is almost always the right call.
3. Panel removal and relief where needed
Here's where a careful install pulls ahead. Anywhere we can, we remove hardware instead of cutting around it — door handles, badges, mirror caps, light trim, sometimes bumpers. It's slower, but it lets us tuck the film behind edges rather than ending it on a visible surface.
Why does that matter? Vinyl fails at its edges. Every exposed edge is a place where a car wash brush, a fingernail, or a pressure washer can catch and start a peel. Tucking the film under and behind hardware seals those edges out of harm's way. A wrap with everything tucked looks seamless and, more importantly, has almost nothing for the elements to grab. Reassembly happens at the end, over clean film.
4. Application — squeegee, heat, post-heat
This is the part everyone pictures, and it's the most demanding. We position a piece dry, lock it down at one point, then work the film across the panel with a squeegee, pushing out air as we go. The goal is full contact with zero bubbles and zero wrinkles.
For curves and recesses, we add heat. Warming cast vinyl makes it relax and stretch so it lays into channels around mirrors, bumper contours, and door handles without tenting. We work it in with our fingers and a wrapped squeegee, easing it down rather than forcing it.
Then the step that actually makes the wrap permanent: post-heating. After the film is down and conformed, we go back over every stretched and recessed area with a heat gun and bring it up to temperature. This resets the adhesive and, on cast film, removes the stretch's memory so it stops wanting to pull back out of the recess. Skip post-heat and a wrap can look perfect on pickup day and then slowly tunnel out of the curves a few weeks later. This is the single most common reason cheap wraps fail early.
5. Trimming, tucking, and edge sealing
With the film on, we trim the excess. We use a light hand and the right blade angle so we cut vinyl, not your paint — a deep cut into clearcoat is exactly the kind of damage we're paid to avoid. Edges get tucked under panels and into seams wherever the design allows.
Then we seal. On wrapped edges and any spot that can't tuck, we run heat and firm pressure to fully bond the adhesive at the perimeter. Sealed edges are what keep water, soap, and car-wash brushes from working under the film. An unsealed edge is an invitation to peel. We'd rather spend the extra time here than see you back with a lifting corner.
6. Final inspection and care handoff
Before the keys go back to you, we do a full walk-around in good light, looking for any bubble, lifted edge, or trim gap. We reinstall the hardware we pulled, clean the glass and jambs, and check the seams one more time. If anything isn't right, it gets fixed now.
Then we hand off care instructions — because how you treat the wrap in its first days and beyond decides how long it lasts. The short version: wait a couple of days before washing, hand wash with wrap-safe products, skip automatic brushes, and keep pressure washers off the edges. We cover all of it in our wrap removal & care guide.
Does a wrap come off without damaging paint?
A wrap done this way doesn't just look better — it comes off better. Premium cast film on properly prepped, healthy paint peels away cleanly when its life is over, leaving your factory finish the way it started. That's the whole point of a wrap: a new look or running advertising for years, fully reversible, with the original paint protected underneath the entire time. Cheap film and skipped prep are what turn removal into a nightmare of torn vinyl and baked-on adhesive. Good prep today is easy removal later.
The bottom line
The visible part of wrapping is fast. The work that makes it last — decontamination, the right film, pulling hardware, post-heating, sealed edges — is the part you're really paying for. When all of it is done right, the wrap looks painted on, stays put through hot summers, and comes off clean down the road.
If you're local, here's what we do every day: vehicle wraps in Sacramento. Ready to talk specifics for your vehicle? Get started here and we'll quote it after we see the car.
5051 College Oak Dr Suite C, Sacramento, CA 95841
Phone: (916) 532-1891
Hours: Monday–Friday, 9:00 AM – 6:00 PM